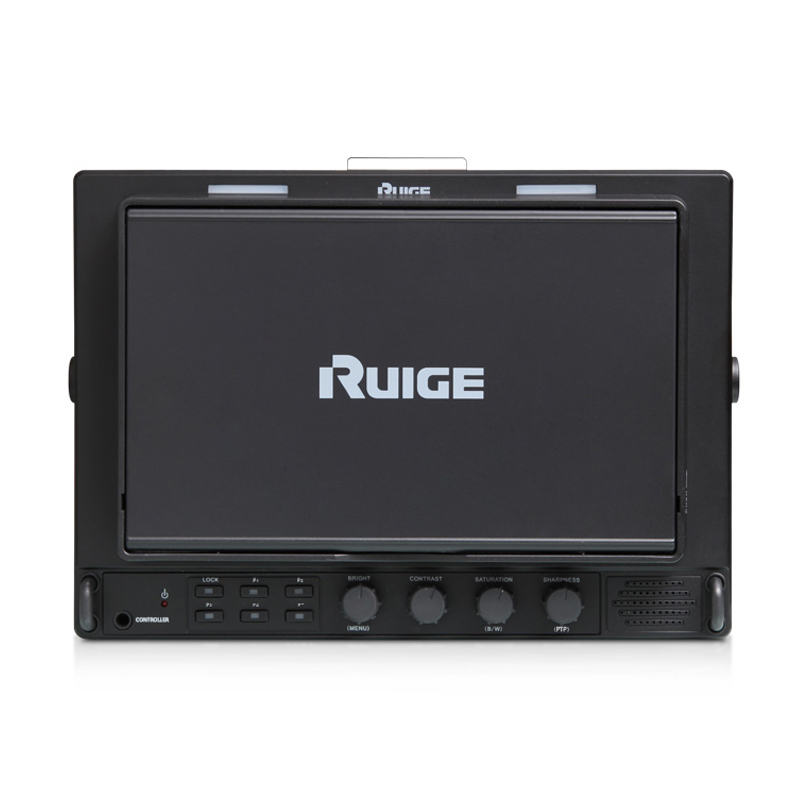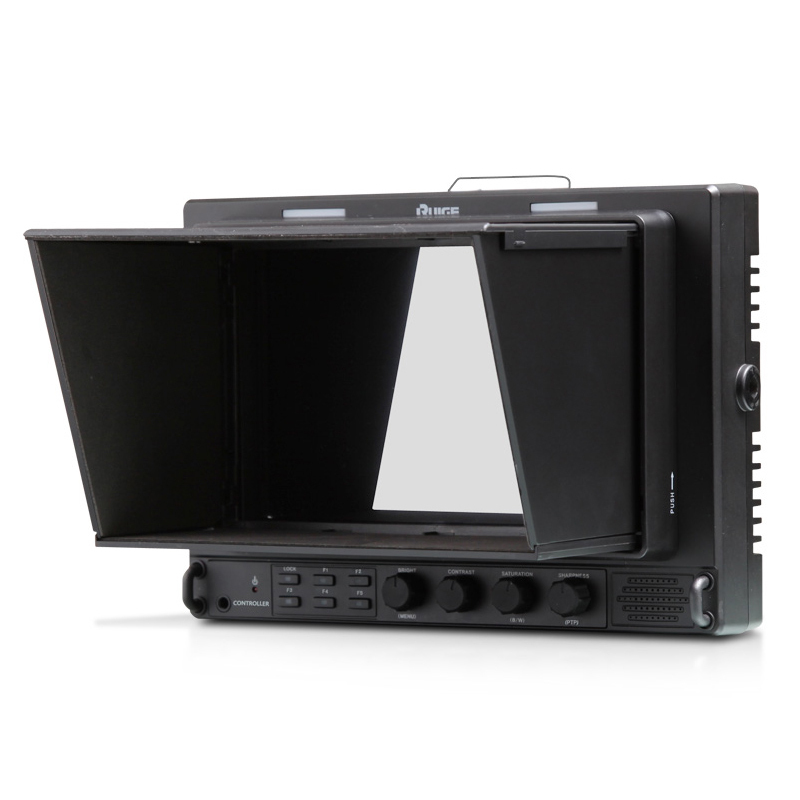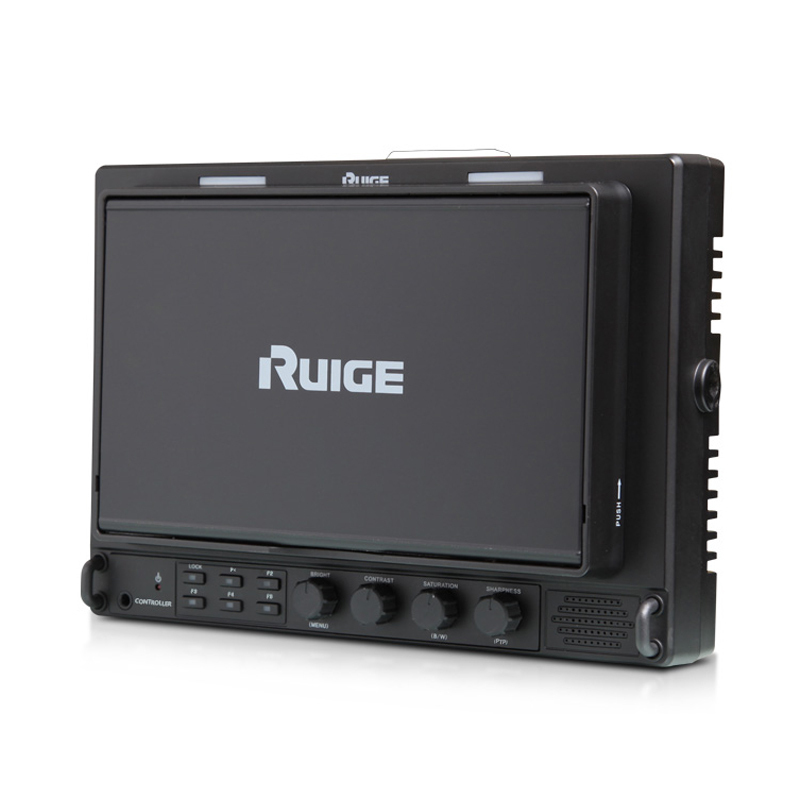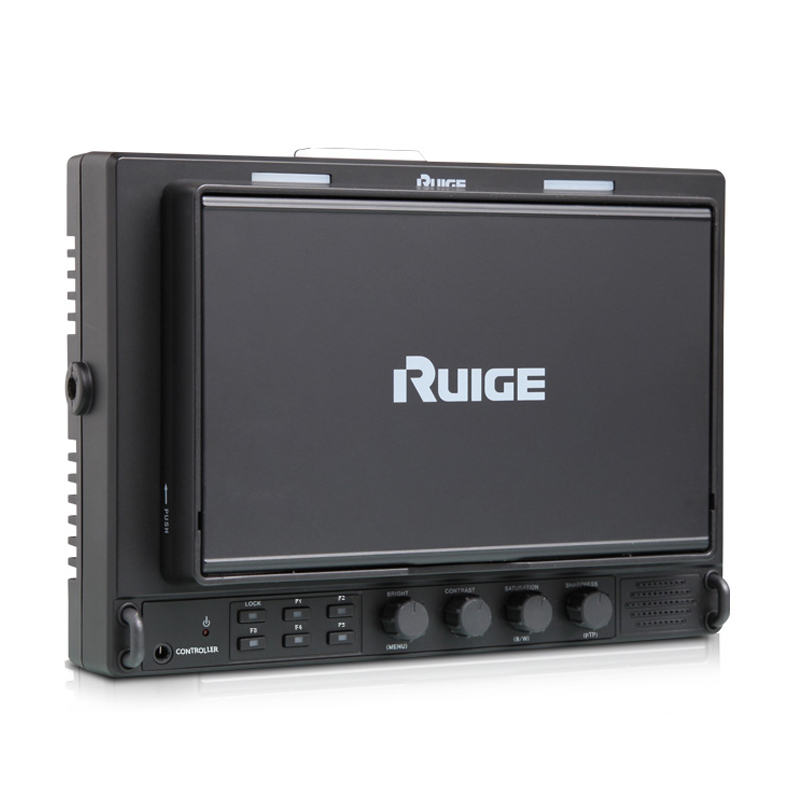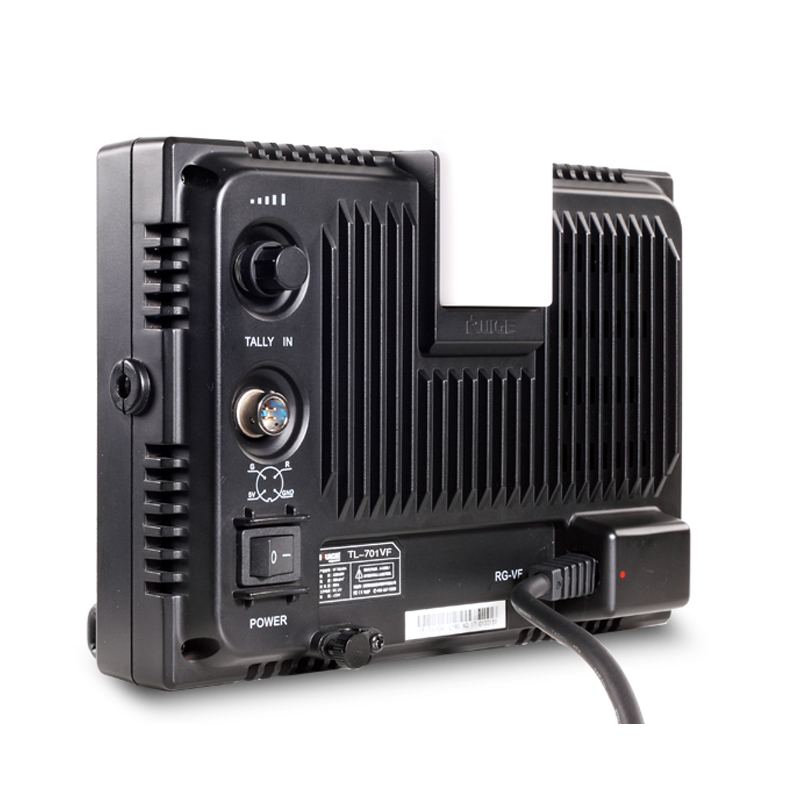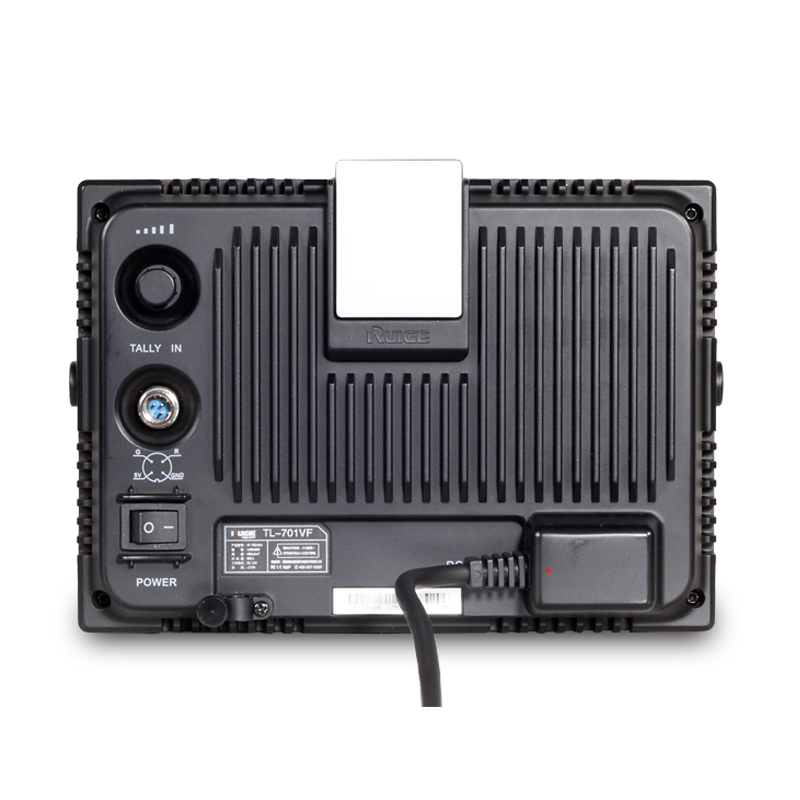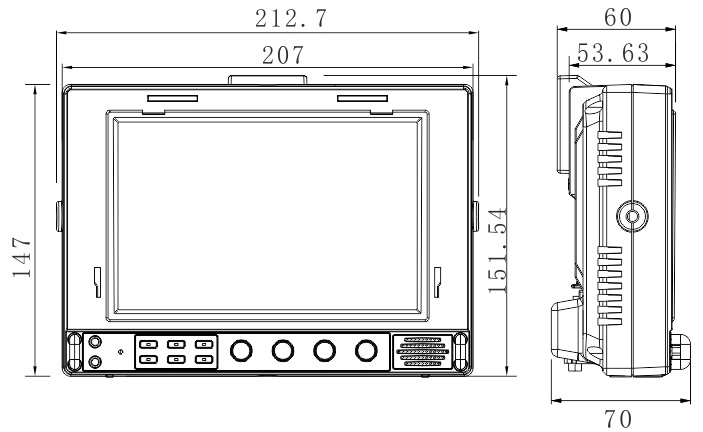
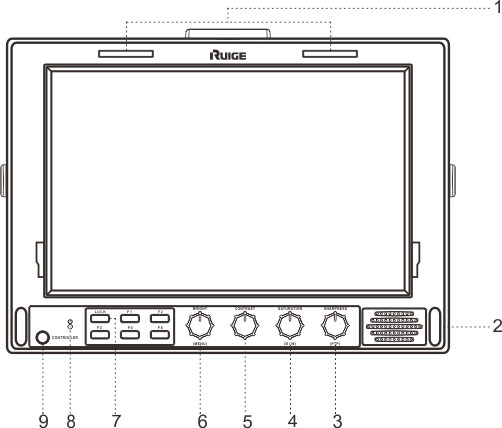
1 TALLY (indicator)
2 Protection bar
3 Sharpness / PTP
4 Saturation / Color B/W switch
5 Contrast
6 Brightness / OSD
7 Status lock / unlock
8 Power indicatorЈredЈ
9 Controller jack
■F1、F2、F3、F4、F5 Shortcut(user-defined)

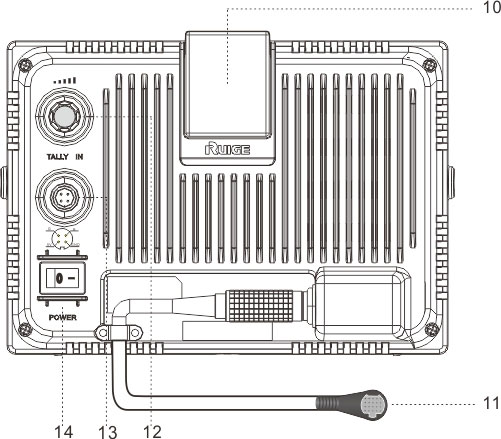
10 TALLY (indicator)
11 VF signal input
12 TALLY brightness adjustment knob
13 TALLY signal input
14 Power switch
Safe & Area Marker
Usage:
Image overflow or cutoffs can be checked using this feature. This is helpful during “Pan and Scan” as image is prepped for various broadcast markets. Ruige monitors have selections for Safety Marker Scales, Title Scales, Transform Scales and Center Cross. This is helpful for composition during shooting or title placement.


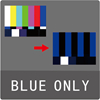
Blue Only
Only the blue portion of the video signal is displayed.
Usage:
This is used for monitor color phase adjustment, level and calibration

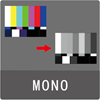
Mono
Mono(chrome) displays only the Y portion of the video signal
Usage:
Human Eyes are more sensitive to the luminance signal therefore many viewfinders and small monitors have this function.

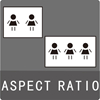
Muti-Aspect Ratio Switchable
Usage:
In order to adjust for correct scanning users can choose different Aspect ratios. Selections are: 16:9, 4:3, Letterbox, Pixel-to-Pixel, Over Scan and Built-in Scan.


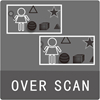
Over scan
Usage:
Overscan is often used to programing for TV broadcast.
Under Scan
Usage:
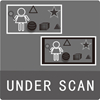
Underscan is often used to the programing for TV broadcast.


Pixel-to-Pixel
Because of the limit of monitor size and effective pixels, not all of monitors can be shown Full HD signal. Ruige P&B Series monitors use RPD technology to make image parts by parts to pixel to pixel so that 1080 original pixels can be reappear.
Usage:
This function can be used for the monitor with the resolution less than 1080. To view details, this function can avoid the loss of image detail due to lack of screen performance.
Safety Lock
Test and preset the brightness, contrast, saturation, color temperature and other parameters of the monitor according to the shooting requirements, confirm and keep the status to ensure the consistency of the gray scale and color reproduction of the images in the entire shooting process. If the function keys on the panel can not be locked, it is likely to operate by mistake, result in poor shooting effect.
Ruige P and B series products are both equipped with security lock function. When the system adjustment is done, just press the LOCK UP button for 3 seconds, the device will automatically enter the locked state. To remove the lock function, press the button for 3 seconds. When the power is cut off, it remains locked, and will not automatically release.


![]()


